Wednesday 31 July 2013

WIP this week

We have been travelling again this week, so not much going on on the crafting world... lots of packing, unpacking, and driving on the other hand. But it was lovely to be in the UK for a few days, and catch up with family and friends and to see my husband become almost elite time for a triathlon... next time fingers crossed!


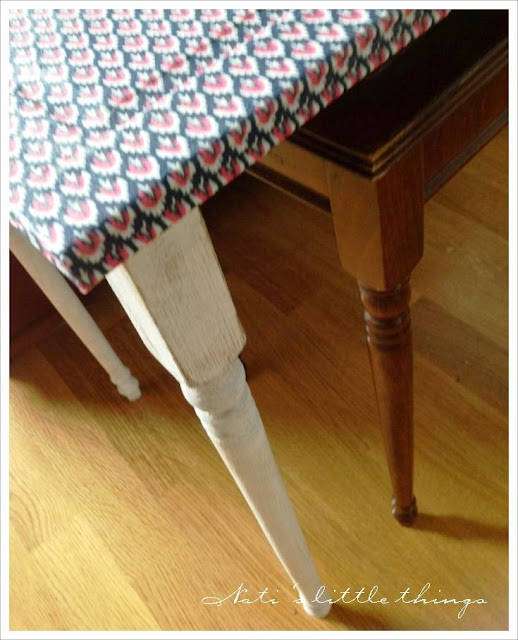
In the meantime I have ripped all the decoupage I had done on my side table a while back and re-did it with fabric, painted and aged it... still needs to be varnished and I need to get started on the second one, but here is a sneak peak of where I am at...

Linking with WIP Wednesdays at Freshly Pieced.

WIP Wednesday at Freshly Pieced

What are you up to this week?


Wednesday 17 July 2013

Working in progress

Hello from the not-so-much-crafting land! I have been super lazy lately but as always I cannot wait to show you some sneak peaks of what has been happening lately around here.

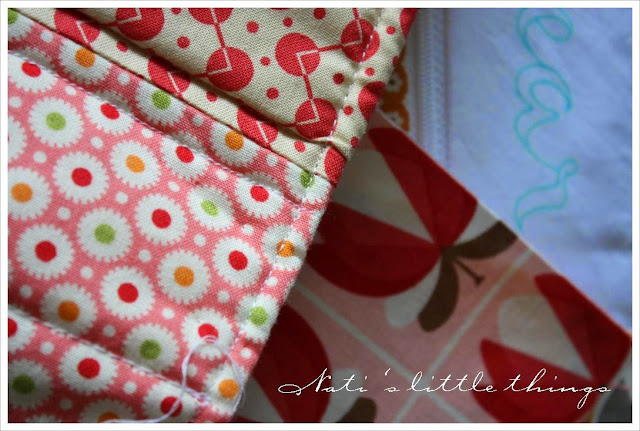
I am working with some amazing fabrics... doing some very simple quilting for a design challenge over at Sew Lux Fabrics... and I am loving what I see. And of course doing a little appliqué and embroidery as well...

And of course after my mum's visit, I could not have missed to sit her down for an afternoon decoupage class. Finally I can stick those napkins and that tissue paper without too many bubbles appearing... so we made this...


And then I made this...


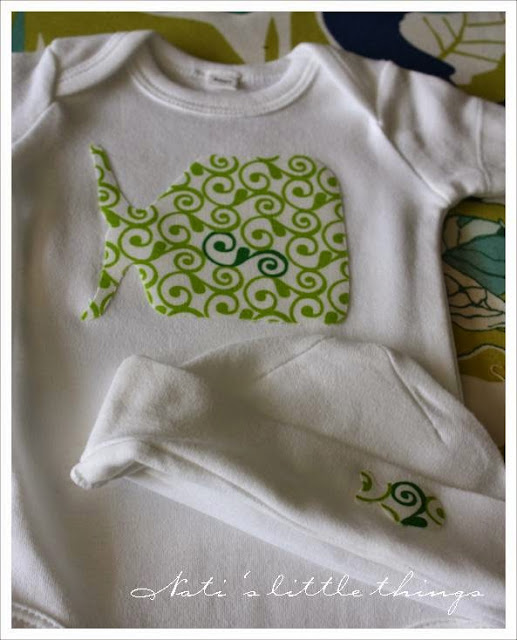
And life would not be complete if I wasn't making some lovely baby gifts for a few friends that are due very soon...


Have a wonderful week!

Friday 12 July 2013

Easy applique

I have been doing a little appliqué lately... and thought it would be handy to put an easy tutorial together in case you are thinking of making some cute crafty thing that involves appliqué... so what will you need?

  • An item into which to appliqué your design...in this case I am use a 100% baby body. But you can appliqué into almost any fabric item!
  • Your design - In the picture I am using my free bird patter (find it here), later on I will be using my modern whale pattern that soon will be released in the shop as well.
  • A piece of fabric big as your design.
  • Lightweight interfacing... and I mean light, feather, almost invisible! It really does make the difference... if you can't afford designer fabrics, don't overreach! but please buy good quality interfacing, especially if you will need to wash the item often.
  • You will also need an iron and ironing board.
Step 1: You will start by cutting your fabric and interfacing to the same size (or as much as possible similar).


Step 2: Place your fabric right side down on a piece of scrap fabric (or especial cloth you use for appliqué). This is important, you do not want the ironing board or iron to get glue on - believe me I've been there! Place the interfacing on top of the fabric, shiny side on the fabric (you should have the paper side facing to you). And cover with the cloth. Then proceed to iron with a very hot iron and lots of steam on both sides.


Step 3: Now it is time to transfer the pattern to the paper side of the fabric. If you think it will be too thick to trace now then transfer the pattern before ironing the interfacing to the fabric... but be careful to use a pen that won't smudge over the ironing process. Cut your design out with sharp scissors (to avoid fraying).


Step 4: Play around with your design and dream of how beautiful it will look :)


Step 5: Once you know where your design will be placed peel off the paper from the fabric... check that the glue stays stuck to the fabric (if not you may want to iron it a bit more). The fabric should look shiny in the back.


Step 6: Place the design on its desired position. To make sure it does not move around when ironing it over, I first iron the item in which I am sticking the design. This is so it is warm and the design lightly adheres to it. Then iron well with hot iron and lots of steam until you think it is not going to go anywhere!


And voilà, you have appliquéd... now appliqué needs to be secured with some form of stitching on it... You can probably do without but it will look more finished if you do.

If the item is going to be worn by kids (or babies as in this case) and washed lots, I generally prefer to machine stitch around it (using some stretchy stitch) in a very short stitch and very slowly going over all the edges.

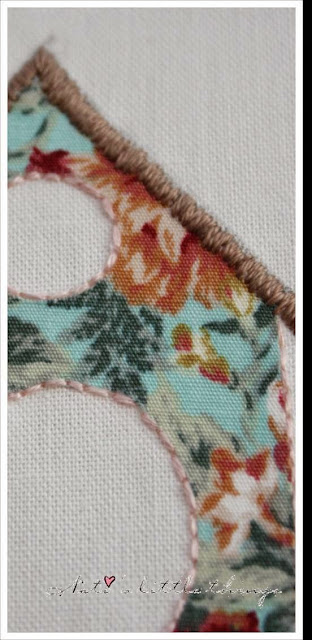
But the loveliest form is to hand embroider on it as I did on my bird houses (pattern available here), like this...


or this...

or even this...

Enjoy your stitching!
Monday 8 July 2013

Tweet, tweet, tweet

I am hearing birds everywhere! Especially in my craft room as I have two new bird related embroidery patterns ready for you to play with...


The first one is my new birdhouses embroidery pattern (find it here in my Craftsy Shop). It has a collection of three birdhouses, flowers, clouds, grass and bushes and two darling little birds. The idea is that by combining a few (or all!) of the items in the design you can make your own embroidery pattern and it will be unique!

In the sample I used appliqué for the houses and then finished them off with different stitches, so you can choose your favourite! 


The second pattern I called it "Cute bird" (find it here), I just think it is so darling with the little heart shaped wing... and of course it comes with a collection of doodles, hearts and branches... so your finished embroidery looks adorable!


All patterns come with detailed pictures of the suggested stitches, ideas for combining the designs and black & white A4 design page on an instant PDF download! 

If you never used Craftsy, don't miss checking out my shop, there are many freebies to catch! And if you like what you see... you can follow the shop so you don't miss any new patterns coming out!

And now that the samples are finished, the patterns uploaded... what I am going to make of them??? Any ideas? I am really open to suggestions!


Friday 5 July 2013

New freebie patterns on Craftsy

Hello all! I am back after a visit from my parents that kept me far from crafting or blogging, but it was great fun!

In preparation to the launch of a few new embroidery patterns on Crafty, I have uploaded a few patterns that were sort of lost in the blog so you can have them all handy when you need them! And they are all free! Why don't you follow the following link to my pattern store and if you like what you see click on the "follow" button to keep updated on what is happening there?

So what have I uploaded?

Source: Puppy coat via Nati DJ on Craftsy

Happy crafting!

LinkWithin

Related Posts Plugin for WordPress, Blogger...